![]()
Getting Started
![]()
Getting Started
更新 2020/11/01
どうも、こんにちは!JellyWareです。
Getting Started!! Riiiver tutorialの第16弾となります。
このシリーズは、Riiiverやプログラミングを学び、初心者の方でもEco-Drive Riiiverを活用したオリジナルアプリを理解して作れるようになることを目指します。
今回は腕時計で救難信号を送れるiiideaを作成します。そのために前回使用したLINE Notifyを使って、新しくAction Pieceを作成します。
以下が完成品のイメージです。
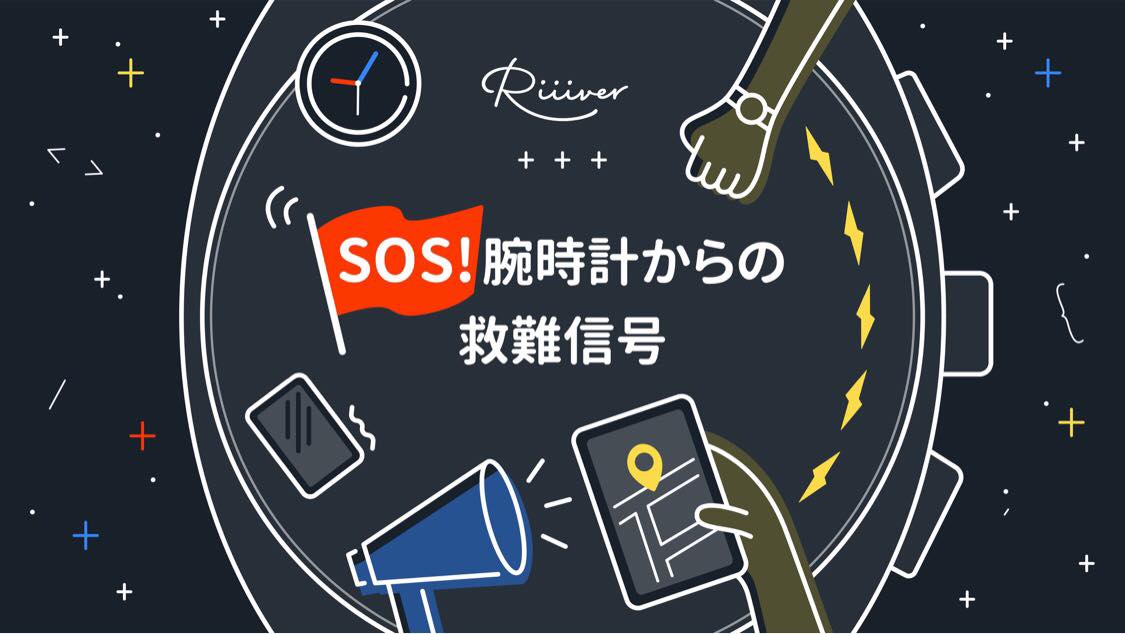
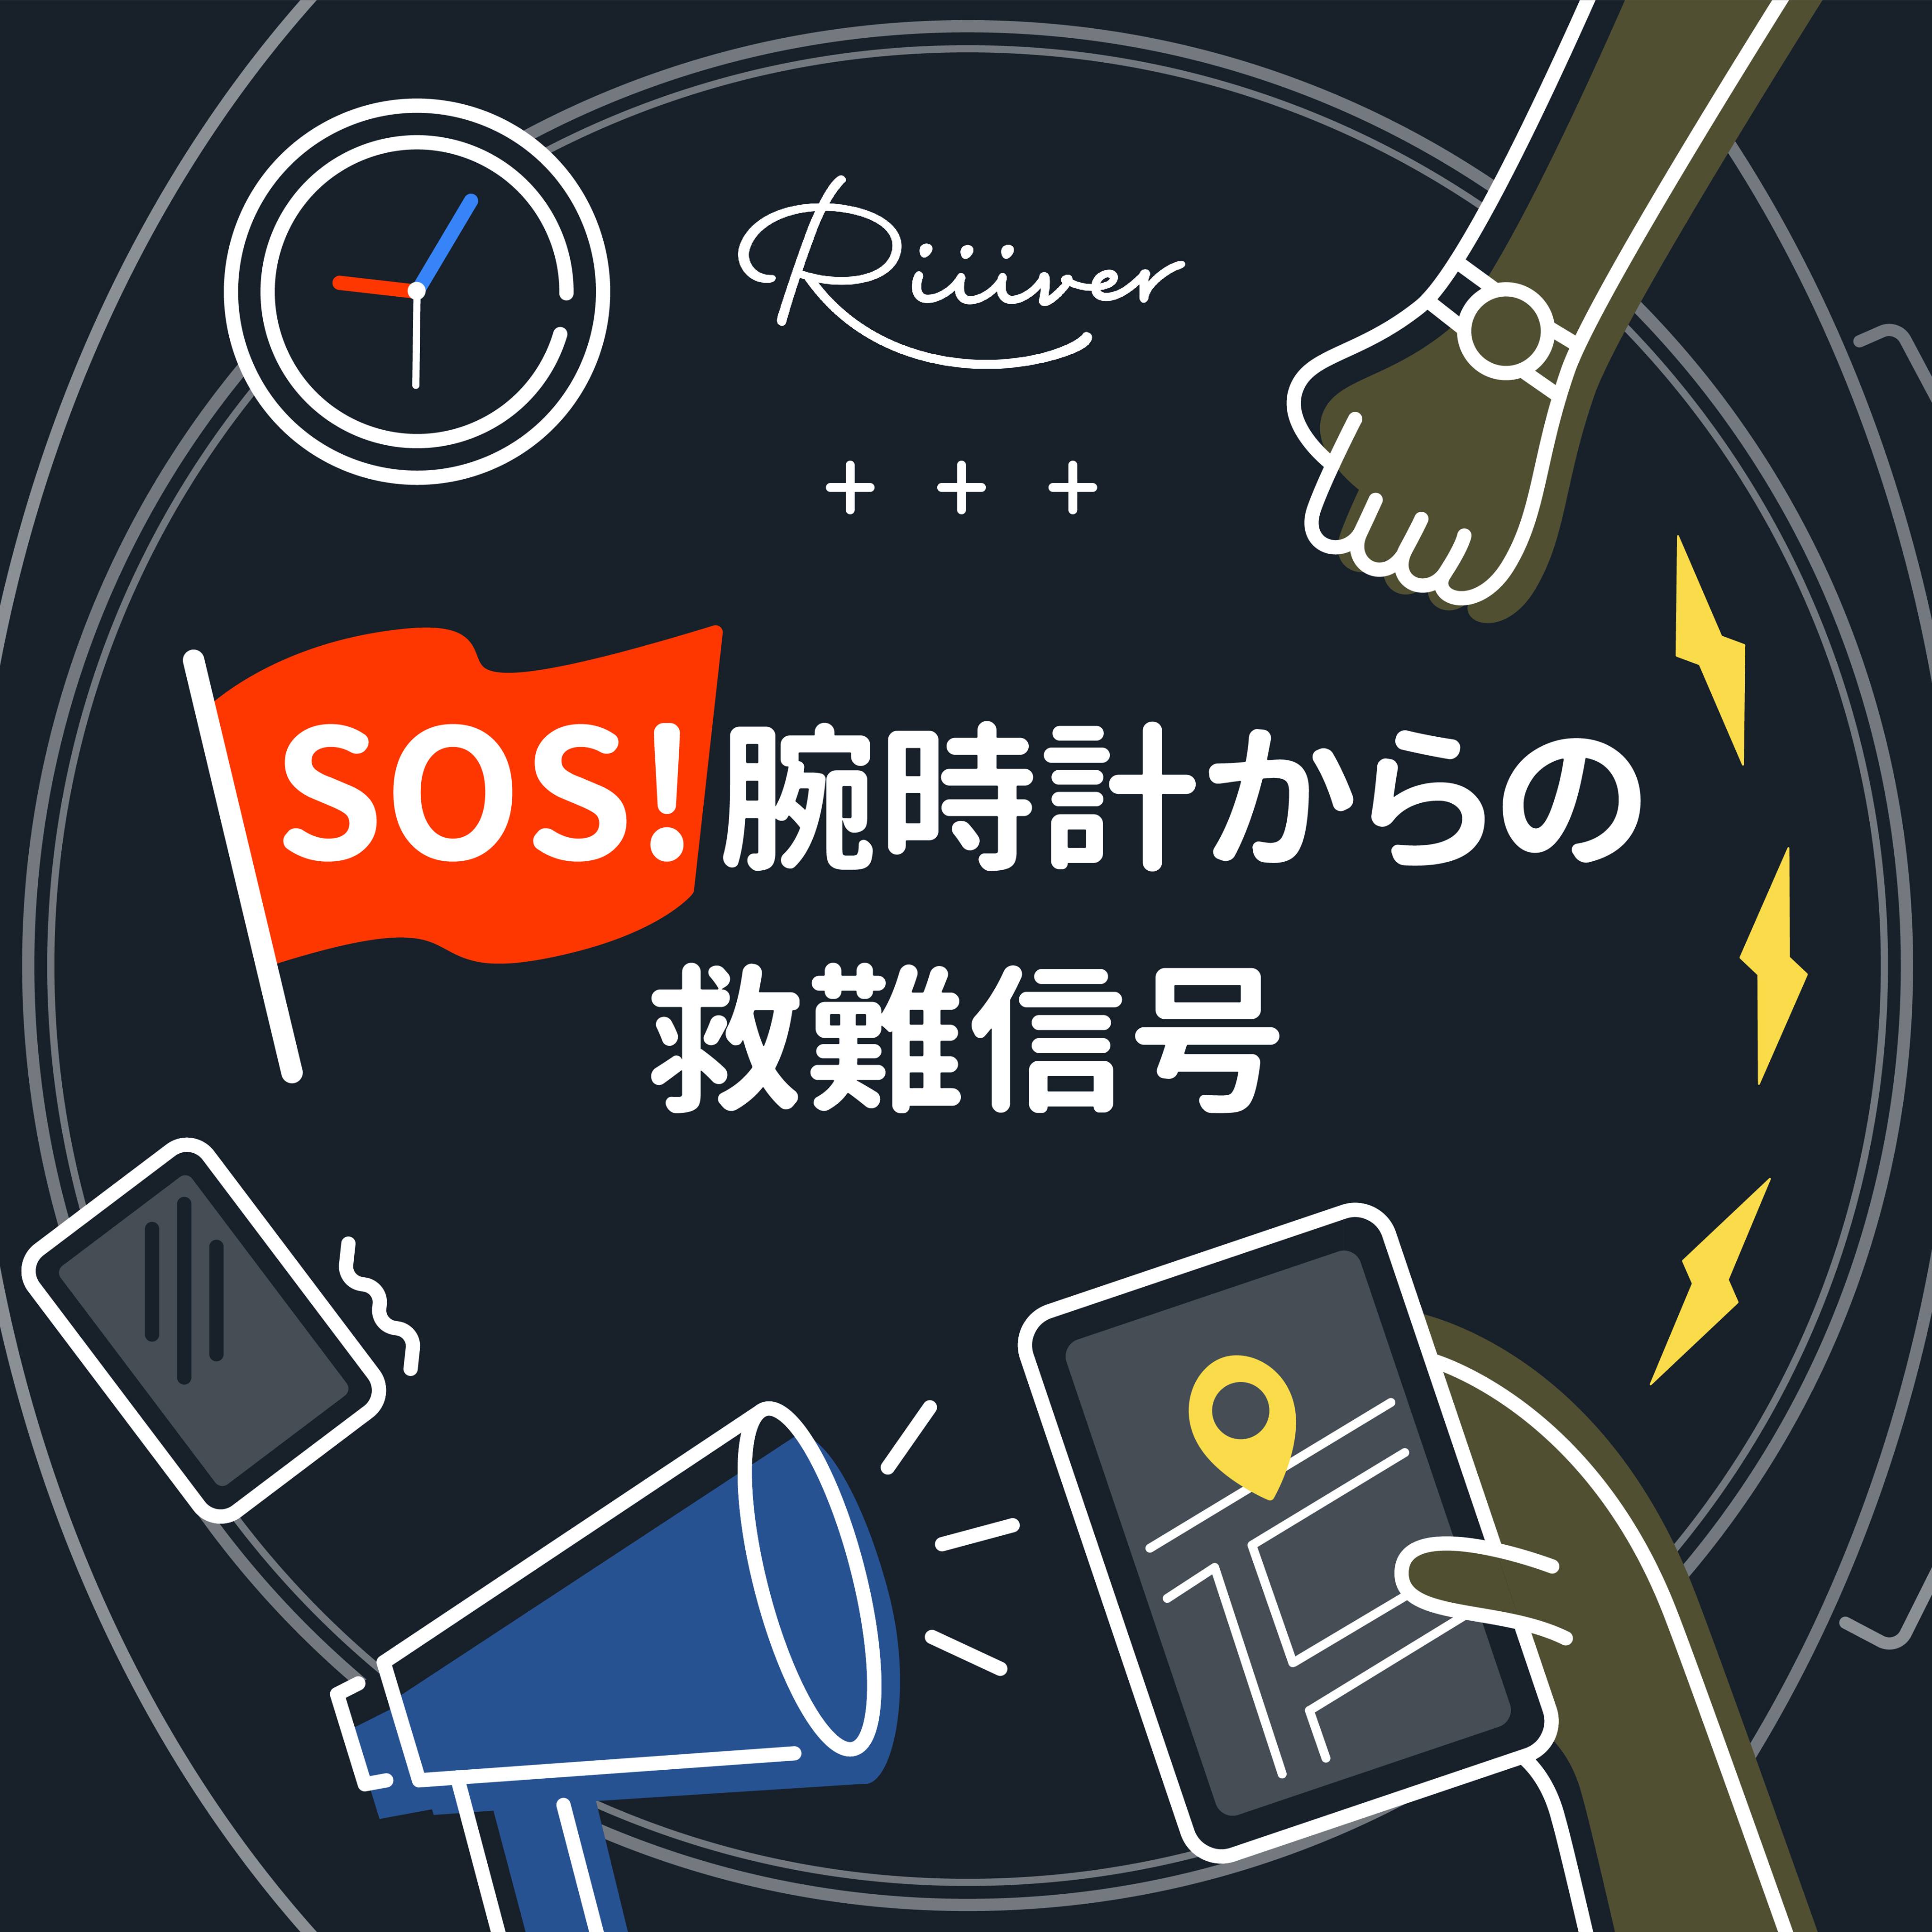
Eco-Drive Riiiver をアレンジして、LINEで位置情報を送れるようにします。ボタンを押すだけで、自動で居場所を取得してLINEに通知します。ドラマや小説の世界のようにこっそり助けを呼んで、悪党を驚かせましょう!
順に Trigger, Service, Action Piece を解説します。
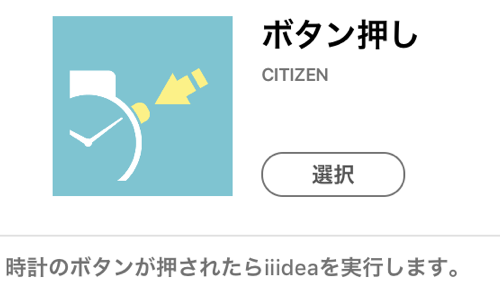
既存の「ボタン押し」を使用します。
Eco-Drive Riiiver のボタンを押すと iiidea を実行できます。
既存の「今どこにいるの」を使用します。
Google Mapで確認できる、位置情報のURLを取得します。

今回新しく作成します。
「LINE Notify」を使って、テキストをLINEに通知するシンプルなPieceを作成します。そのため、今回作成するiiidea以外にも応用できると思います。
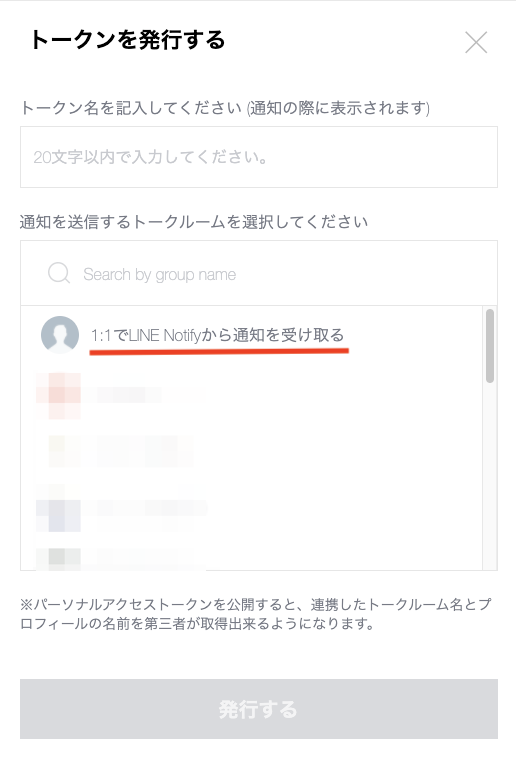
前回補足しましたが、他の人にも通知を送信したい場合はトークンを発行する段階で、グループを選択する必要があるので注意してください。
上記画像の箇所でグループを選択できます。
特に新しい内容はないためプログラミングの解説などは省いて、早速Piece JSONについて解説します。
{
"title": {
"en": "LINE Notify",
"ja": "LINE Notify"
},
"version": "1.0.0",
"sdkVersion": "1.0.0",
"deviceId": "none",
"vendorId": "none",
"description": {
"en": "Send a LINE Message containing the results of the previous Piece. For instance, if the previous Piece outputs a number that represents the percentage chance of rain, this number will then be sent to your connected LINE Account. Note: You will need to use a LINE Notify account (https://notify-bot.line.me/) in order to create and copy an access token that can connect this Piece to your specific LINE account. ",
"ja": "前のピースの結果をLINEのメッセージで送信します。例えば前のピースが降水確率を%で出力するPieceの場合、その数値を連携しているLINEに送信します。※このピースを特定のLINEアカウントに接続できるアクセストークンを作成してコピーするには、LINE Notifyアカウント(https://notify-bot.line.me/)を使用する必要があります。"
},
"blockType": "action",
"executor": "RBCCommonWebServiceExecutor",
"serviceProxy": {
"service": "lineNotify"
},
"osType": "none",
"categoryIds": ["cat_1002"],
"preferences": {
"type": "object",
"properties": {
"accessToken": {
"x-input-type": "text",
"type": "string",
"x-title": {
"en": "Line Notify Access Token",
"ja": "LINE Notify の アクセストークン"
},
"x-description": {
"en": "Enter access token to connect to your LINE Notify account, which can be created at https://notify-bot.line.me/",
"ja": "LINE Notify を使用するにはアクセストークンが必要です。"
}
},
"preferencesText": {
"x-input-type": "text",
"type": "string",
"x-title": {
"en": "Accompanying Text",
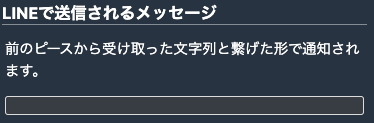
"ja": "LINEで送信されるメッセージ"
},
"x-description": {
"en": "Text you enter here will also be sent to LINE, so the LINE message will look like “[This text] [Piece result]",
"ja": "前のピースから受け取った文字列と繋げた形で通知されます。"
},
"default": ""
}
}
},
"input": {
"type": "object",
"properties": {
"inputText": {
"type": "string",
"format": "text"
}
}
}
}
"blockType", "preferences", "input"のみを解説します。その他の解説に関しては、第11弾をご参照ください。
今まではService Pieceを作っていましたが、今回はAction Pieceのため"blockType"を変更する必要があります。
"blockType": "action"
Servie Pieceの場合は、"service", Action Pieceの場合は、"action"を指定します。
ユーザーがLINE Notifyのアクセストークンとテキストを入力できるようにします。
"preferences": {
    "type": "object",
    "properties": {
      "accessToken": {
        "x-input-type": "text",
        "type": "string",
        "x-title": {
          "en": "Line Notify Access Token",
          "ja": "LINE Notify の アクセストークン"
        },
        "x-description": {
          "en": "Enter access token to connect to your LINE Notify account, which can be created at https://notify-bot.line.me/",
          "ja": "LINE Notify を使用するにはアクセストークンが必要です。"
        }
      },
      "preferencesText": {
        "x-input-type": "text",
        "type": "string",
        "x-title": {
          "en": "Accompanying Text",
          "ja": "LINEで送信されるメッセージ"
        },
        "x-description": {
          "en": "Text you enter here will also be sent to LINE, so the LINE message will look like “[This text] [Piece result]",
          "ja": "前のピースから受け取った文字列と繋げた形で通知されます。"
        },
        "default": ""
      }
    }
}
アクセストークンの箇所("accessToken")は前回と同じです。新しく以下を追加して、さらにテキストを入力できるようにしました。
"preferencesText": {
    "x-input-type": "text",
    "type": "string",
    "x-title": {
      "en": "Accompanying Text",
      "ja": "LINEで送信されるメッセージ"
    },
    "x-description": {
      "en": "Text you enter here will also be sent to LINE, so the LINE message will look like “[This text] [Piece result]",
      "ja": "前のピースから受け取った文字列と繋げた形で通知されます。"
    },
    "default": ""
}
入力されるテキストは文字列のため"x-input-type"は"text", "type"は"string"にしています。
また、初期値を""と空の文字列にしユーザーが何も入力せずにiiideaを実行してもエラーが起きないようにしています。"default"は必須のkeyではありませんが、今回のように初期値を設定できて便利です。
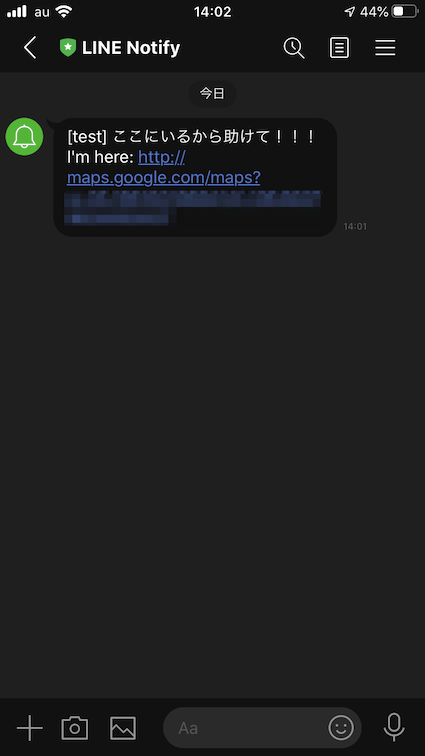
実際のアプリの画面では、以下のようになります。
例えば、「ここにいるから助けて!」を入力すると以下のようにLINEに通知されます。「I'm here: ~」は、S Pieceの「今どこにいるの」から取得したテキストです。
前のPieceから文字列を受け取れるようにします。
"input": {
    "type": "object",
    "properties": {
      "inputText": {
        "type": "string",
        "format": "text"
      }
    }
}
文字列のみを受け取れるように、"type"は"string","format"は"time"にしています。
"string"は、"format"を指定する必要があるので注意してください。詳細は、こちらをご参照ください。
次に Piece Funcを解説します。
// axiosの読み込み
const axios = require("axios");

exports.handler = async (event) => {
    if (event.call === 'lambda') {
        console.log('CALLED:LAMBDA');
        /* If you use the external modules, please code the following: - 外部モジュールを使う場合に記入してくだい。
           e.g.  if ( xxxx !== null ){} // xxxx: instance for the module.  -  xxxx : 生成したインスタンス */
        if (axios !== null) { }
        return;
    }

    // URL
    const url = "https://notify-api.line.me/api/notify";

    // LINE Notfyのアクセストークン
    const token = event["properties"]["preferences"]["accessToken"]

    // ユーザーが入力した文字列
    const preferencesText = event["properties"]["preferences"]["preferencesText"]

    // 前のPieceから受け取った文字列
    const inputText = event["properties"]["input"]["inputText"]

    // 通知メッセージ
    const message = `${preferencesText} ${inputText}`;

    // API通信
    const doLineNotify = async () => {
        await axios.post(
            url,
            querystring.stringify({
                message: message
            }),
            { headers: {
                Authorization: `Bearer ${token}`,
                "Content-Type": "application/x-www-form-urlencoded"
              }
            }
        );

        } catch (error) {
            console.log("Error message: " + error.message);
        }
    };

    // 実行
    await doLineNotify();
    return;
};
大きく以下のことを実行しています。
基本的にeventから必要なデータを取得して、LINE Notifyで通知しているだけです。
// 通知メッセージ
const message = `${preferencesText} ${inputText}`;
通知するメッセージもこのように文字列を連結させるだけでシンプルにしています。そのまま連結するだけでは不自然な文になると考え、半角スペースを挟んでいます。
今回は、シンプルなPieceのためコードの量が比較的少ないです。既存のPieceと組み合わせることで、作成する機能を少なくできました。これもまたRiiiverの魅力の1つだと思います。
ご覧くださいましてありがとうございました。